Using AIMS Box Levels
AIMS Box levels are objective chart reference points. They help you see where price is boxed between an upper level and a lower level.
Video overview
Setup 1 is the Wave 4 box — fractal high to fractal low. Wait for ready, then take the break into Wave 5.
What Creates An AIMS Box
The AIMS Box concept is based on upper and lower fractal levels:
- The upper box level is based on a recent high fractal.
- The lower box level is based on a recent low fractal.
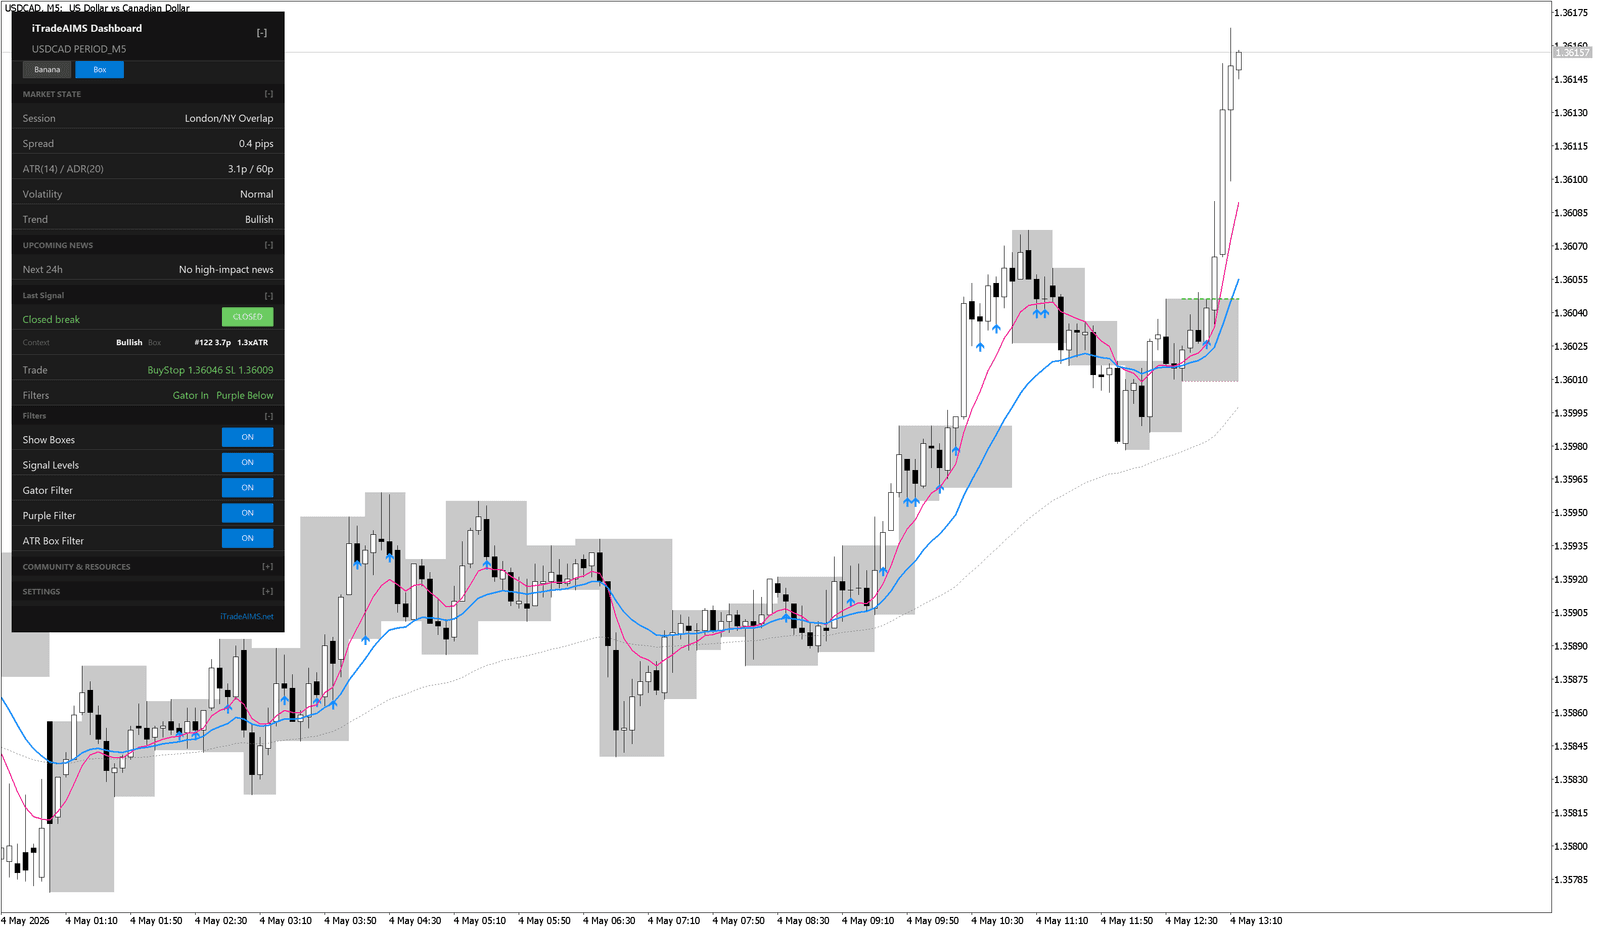
- The grey zone between them shows the active box area.
A fractal normally needs candles on both sides before it is confirmed. If a box appears early, wait for confirmation before treating it as a stable chart reference.
What The Box Tells You
The box gives practical information:
- Where price is currently boxed in.
- Where a breakout would occur.
- Where the opposite side of the box is.
- How tall the box is.
- Whether the box is usable for the amount of risk you are willing to take.
Reading Setup States
The dashboard can summarize the latest state.
Common examples:
| State | Meaning |
|---|---|
Setup 1 · WAIT | Structure forming — box visible; wait for READY or clearer context before acting. |
Setup 1 · READY | Candidate setup ready for review — check trade lines and filters. |
Setup 2 | A second setup type is ready for review. |
Closed break | Price has closed beyond the relevant box level. |
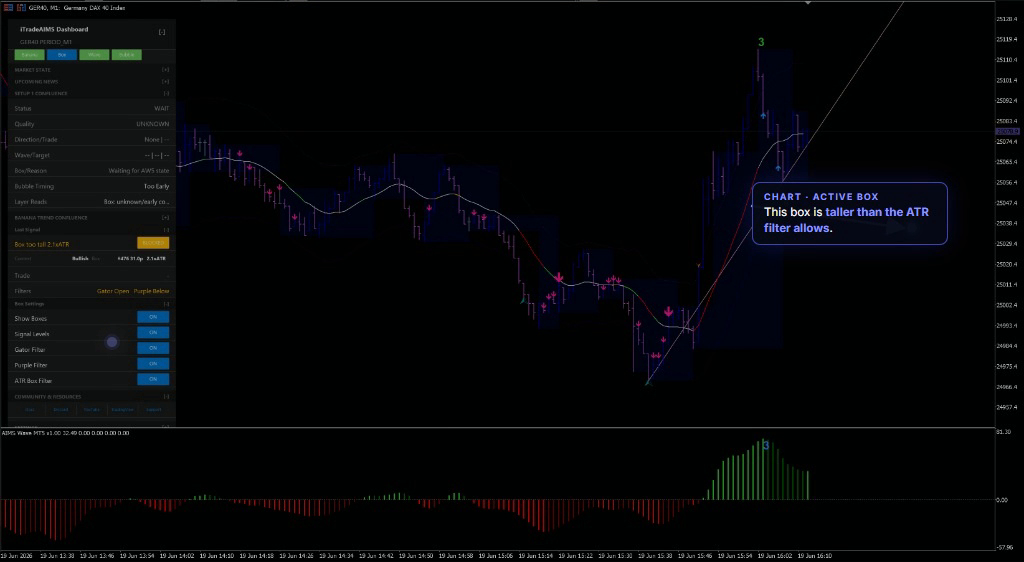
Blocked | A filter, box-height, or context condition is blocking the setup. |
The exact state labels can vary by version.
Breakout Review
AIMS Box trading often watches for price to break beyond the box:
- A buy setup looks for price behavior around the upper box level.
- A sell setup looks for price behavior around the lower box level.
- The opposite side of the box is a common stop reference.
Do not treat every break as a trade. Review:
- Trend direction.
- Gator and Purple context.
- ATR Box filter state.
- Spread and news.
- The distance between entry reference and stop reference.
Box Height And Risk
The height of the box matters because it affects stop distance and position size.
A tall box can make the risk too large for the setup. If the dashboard marks a box as blocked because it is too tall, treat that as a warning to stand aside or wait for a cleaner structure.
Trailing And Review
AIMS Box levels can also help with trade review after entry:
- Previous box levels can act as visible structure.
- New boxes can help you see where price is consolidating.
- The opposite side of a new box can be considered as a trailing reference only if it fits your plan.
Do not move a stop only because a new box appears. Check whether the change improves risk control and follows your rules.
Best Practice
Use the AIMS Box as structure, not as a shortcut.
Before taking action, ask:
- Is the box confirmed?
- Is the box tight enough?
- Does the higher-timeframe context support the direction?
- Are filters and market conditions acceptable?
- Does the setup fit my risk plan?